If you click on any of the projects it will make them larger
brave new world: f.i.g.h.t.
|
The Brave New World project was a partner project with humanities. We did the writing in humanities, and the visual piece in digital arts. I chose to write my own dystopia, called F.I.G.H.T. The other class did the Food Project.
|
I was sitting in class trying to come up with an idea for my visual piece, when my friend Raven gave me some clay to play with. It made me think of the rubber erasers that pick up pencil, so I had the idea to try it with the clay. After it imprinted notes from my sketchbook, I thought of drawing something to imprint onto clay. I chose two silhouetted figures to imprint, and made the clay into a heart shape afterwards.
The imprinted figures creates contrast with the white clay. The heart is smoothed mostly to appear perfect. The colors of the board underneath it represent a homosexual flag, and gives color to the 3D heart. If I could change this project, I don't think I would. I learned a lot from the project I did, including my mistakes. I had some ideas that failed, but I'm glad I figured out the problems, and learned from them. I like my story, and I'm glad I changed it early on to make more sense. |
|
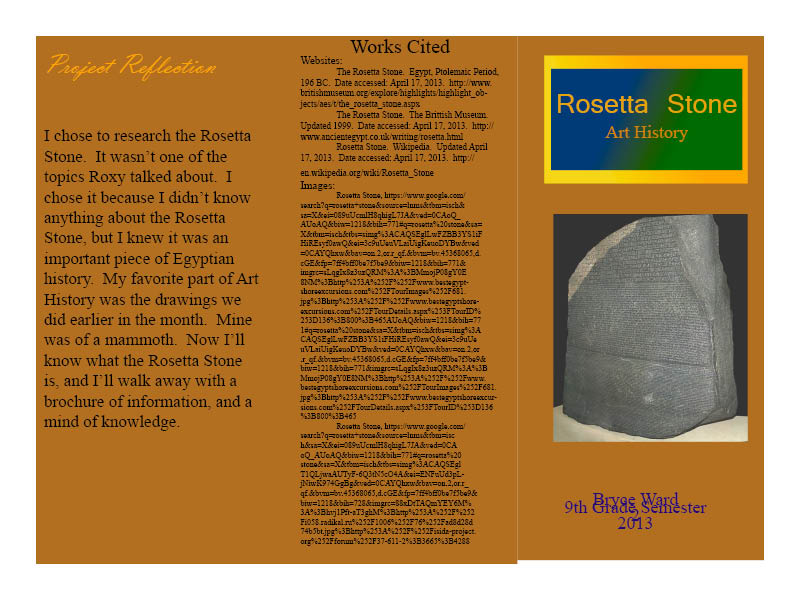
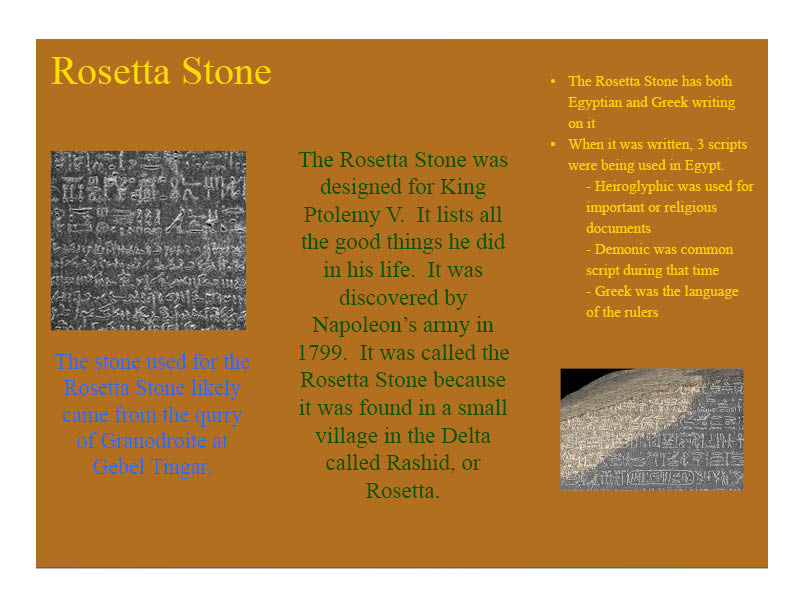
Art History: Rosetta StoneOur short art history project was to create an informative brochure about a piece of our choice. I chose the Rosetta Stone. On the right is the inside flaps, and on the left is the Cover, back and middle flaps.
|
|
Art history: Mammoth drawing
There are several versions of my Mammoth drawing. I scanned it into the computer and added effects.
Stop Motion animation: drunk
In this project we spent several weeks taking photos and working in multiple programs to make our videos. Most of it was made in Adobe Flash. Video was not a requirement for the project, but I chose to include some, which turned out to be crucial to the plot. Because I was adding video to my movie, I had to do final editing in iMovie on my Mac. In this project we learned how to make stop motion animations and use programs like flash. We had to add music and sound to the animations and use a motion tween and shape tween in flash. This project was fun, but very difficult and frustrating. Towards the end it became very stressful and overwhelming, and I was glad to be finished. I learned a lot during this project.
|
|
|
Shallow depth of field
Shallow depth of field is a photo where an object is in focus, but the background is blurry. This creates a point of emphasis on the focused object. This picture is an example of shallow depth of field because the purple flower in the foreground is sharp and in focus, but everything else is blurry and out of focus.
|
Lighting
This photo demonstrates a type of lighting. In this shot, the subject is in front of the light source, cause the face to be backlit.
|
Play Poster: Greek Tragedies
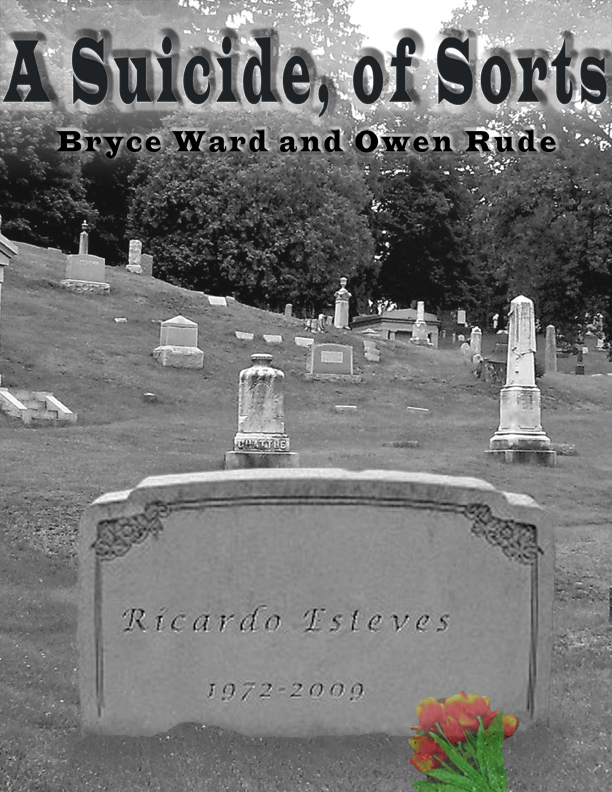
For this project we each individually created a play poster to represent our scripts we wrote in Humanities. Part of the project was learning how to make several versions and save after every change. I had about 10 different versions of my poster. Some have a shadowy silhouette in the background, others didn't have the flowers. In all the earlier versions the text was more plain and didn't have the white backlighting. Ricardo Esteves was the main character in our script, which was about the issue of assisted suicide.
Click here to view the Humanities Greek Tragedies page
Click here to view the Humanities Greek Tragedies page
What makes for an engaging play poster?
An engaging poster consists mysterious images used to catch the viewer's attention. Don't tell the whole story, but tell enough to hook someone in. Part of creating an engaging poster comes from an engaging title. If the title is long, boring, or strait forward the audience is more likely to move on. A good poster should have images that relate to the play but leave some open space so the poster is not overwhelming. Every poster should have a focus point that catches the eye immediately.
How and why is art used as a vehicle for communication?
Art can communicate the mood of the play or convey the emotions you want the viewer to feel. It can also show a message about the topic. Art can tell the story of the play partially. People use art to communicate these things because it can be easier to explain than using words. Using art you can tell your story with emotions and words.
To what extent does a work of art depend on the viewer's point of view?
Depending on the piece of artwork it can matter a lot. Some people may not have any interest in seeing a play if the poster depicts violence and they don't like violence. If the play is about an issue that has two perspectives like assisted suicide then someone opposed to your point of view may have mixed feelings about your issue. How a piece of art turns out depends on who the targeted audience is. For example you wouldn't put naked people on a poster designed to target 5 year olds, instead you might put candy or cartoons.
How To Photoshop Tutorial: Aurora Borealis

During the week after we finished our Teacher Animal Poster Projects Roxy was going to be meeting individually with us to grade our project. While she was doing that we were picking How To Photoshop Tutorial videos and learning how to make complicated things. The easier videos took you through it step by step while the harder ones left you to figure out more on your own. This video mostly taught me about all the different things you can do to every layer and every aspect that make the whole look very different when you're done. Before I'd never really messed with a lot of the settings like overlay and dissolve and soft light. What was neat about the videos was that each project would be different and there was no way to actually duplicate the video.
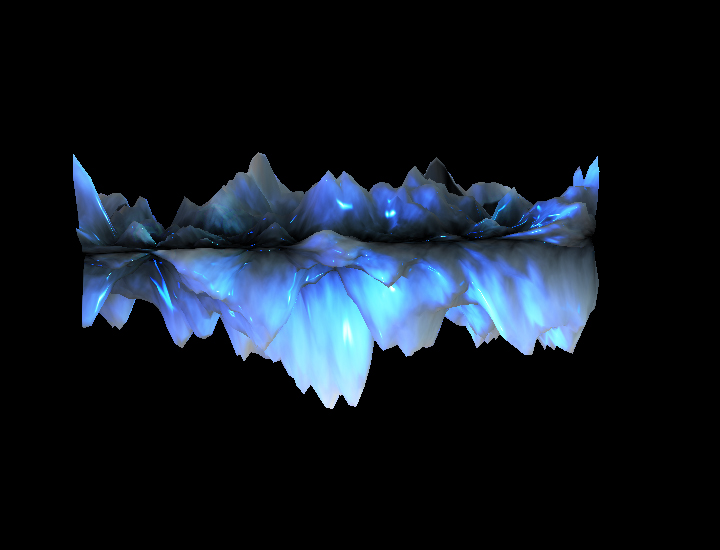
How to photoshop tutorial: 3d ice effect
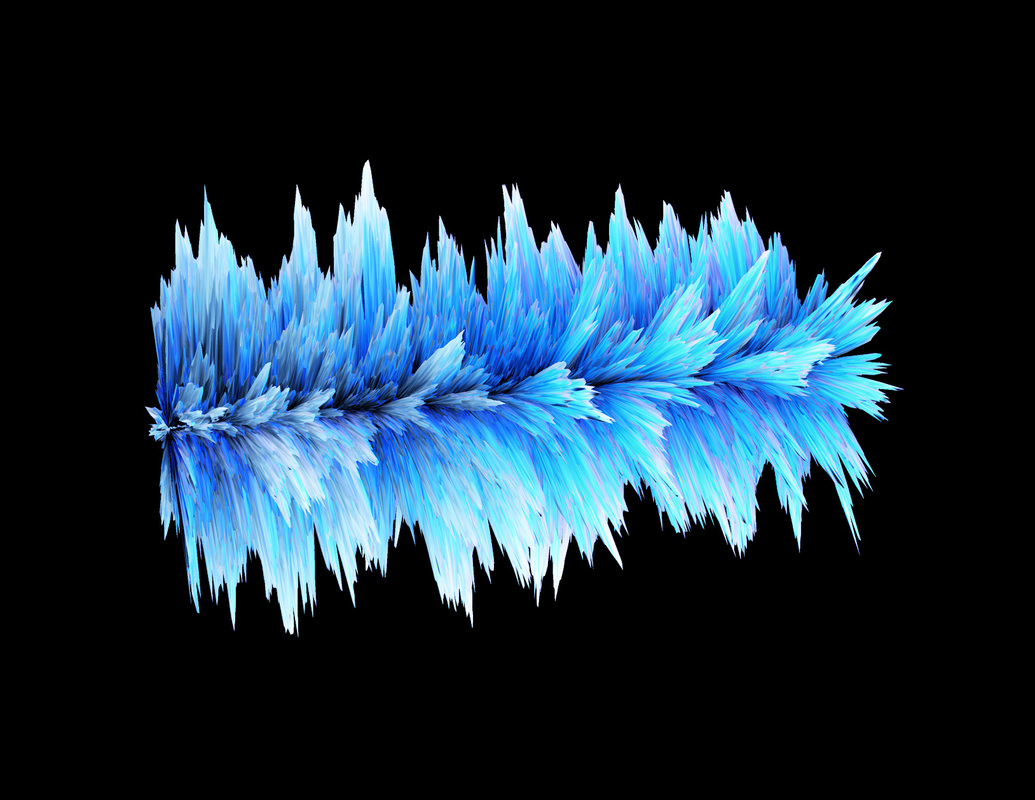
During the week after we finished our Teacher Animal Poster Projects Roxy was going to be meeting individually with us to grade our project. While she was doing that we were picking How To Photoshop Tutorial videos and learning how to make complicated things. The easier videos took you through it step by step while the harder ones left you to figure out more on your own. This was the first time I'd done anything using 3D shapes in photoshop. Lia, who sits next to me was doing this video at the same time and hers turned out much more rounded like the one in the video. The computer generated the clouds used to make this randomly so I got a variety that only made pointy ice. I thought this video was really cool!
Teacher animal poster project: Heerschap to Kevin, the koala
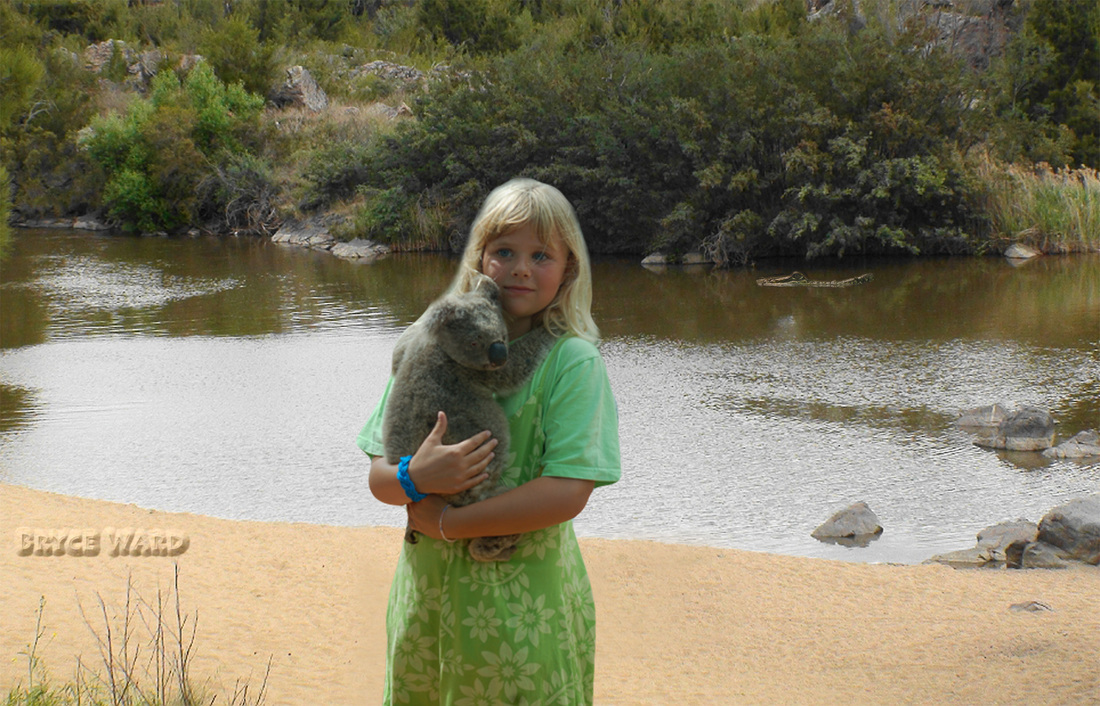
This was our first big project and the only one we would grade individually with Roxy. You're taking a teacher's face and copying it onto another image then blending them to look like the teacher's face belongs there. Other requirements were finding a creative way to "hide" your name in the picture and adding other images. I took Heerschap and put his nose and eyes on the face of the koala. This is a picture of me holding a koala when I was little and I thought it would be cool to use it. However this wasn't really the best picture because the koala is small and has it's head angled. I took me and the koala and put it onto the river background and then added a crocodile lurking in the background river. For my name I used a video to learn how to make it look like something written in the sand. The most challenging thing was probably getting the crocodile colors to blend with the colors of the river. I think if I had the time I could redo this project a lot better.
school id
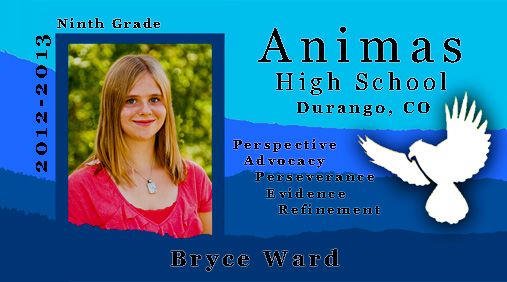
The cool thing at Animas was that instead of posing for a picture and getting an ID a few weeks later we actually got to make our own school Ids. The template was the same for everyone and all we did was resize our school photos then position them and type our name. After we finished our own school IDs we made them for sophomores, juniors and seniors. Some people also learned how to use tools in photoshop the edit themselves like the clone stamp tool.
name project
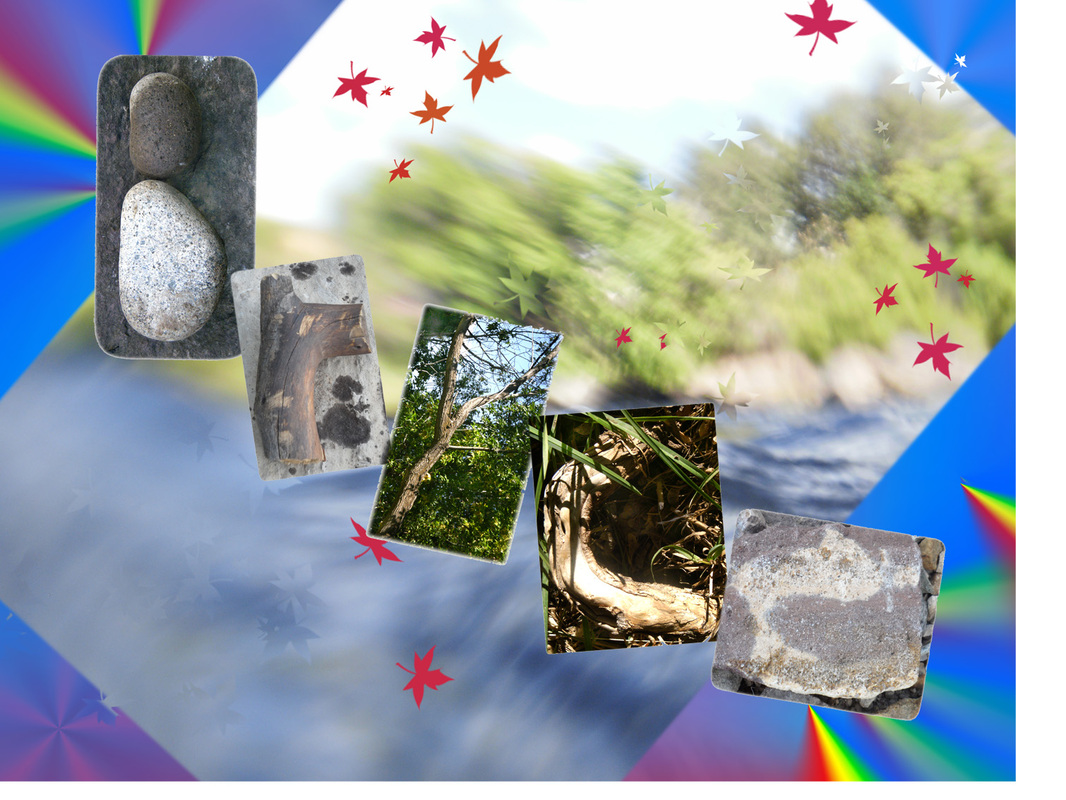
The Name Project was our first project of the year, and my first time working with photoshop. Even part way through the year the improvement in later projects is really clear. We each had to take pictures of the letters in our name as we found them in nature. Then the objective of the assignment was to learn how to edit and refine the edges of something before pasting it onto something else. At the time I was really proud of my first project in photoshop, but looking back I can see mistakes and problems that I would have changed doing this project later after I've become familiar with photoshop.
